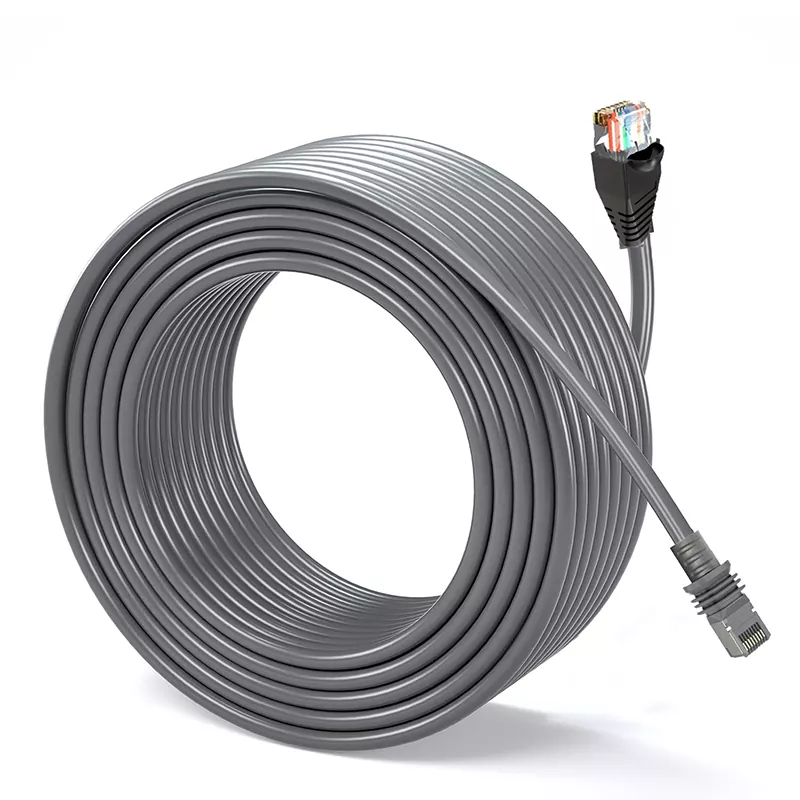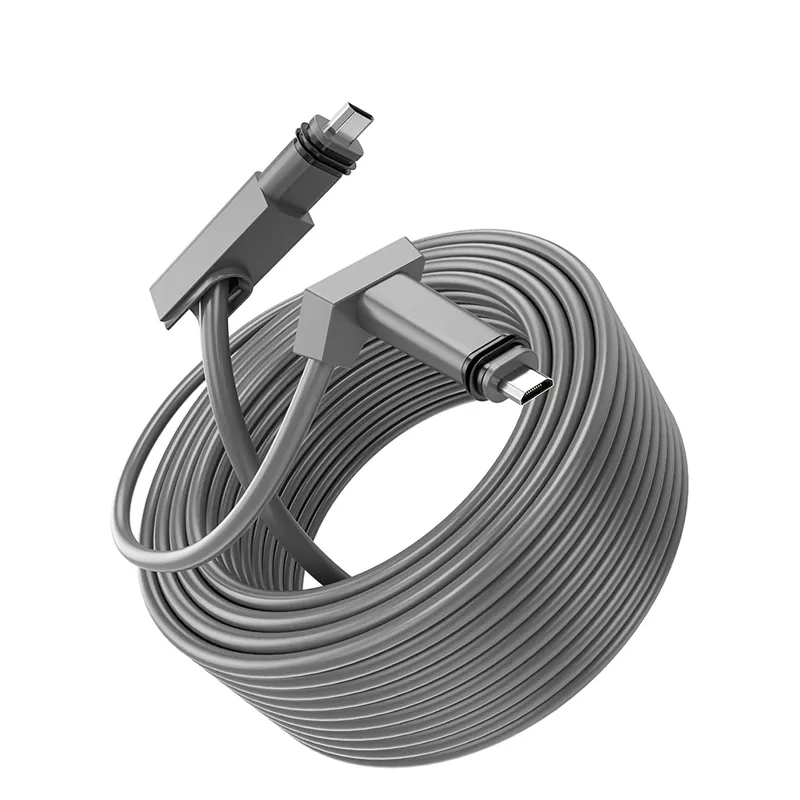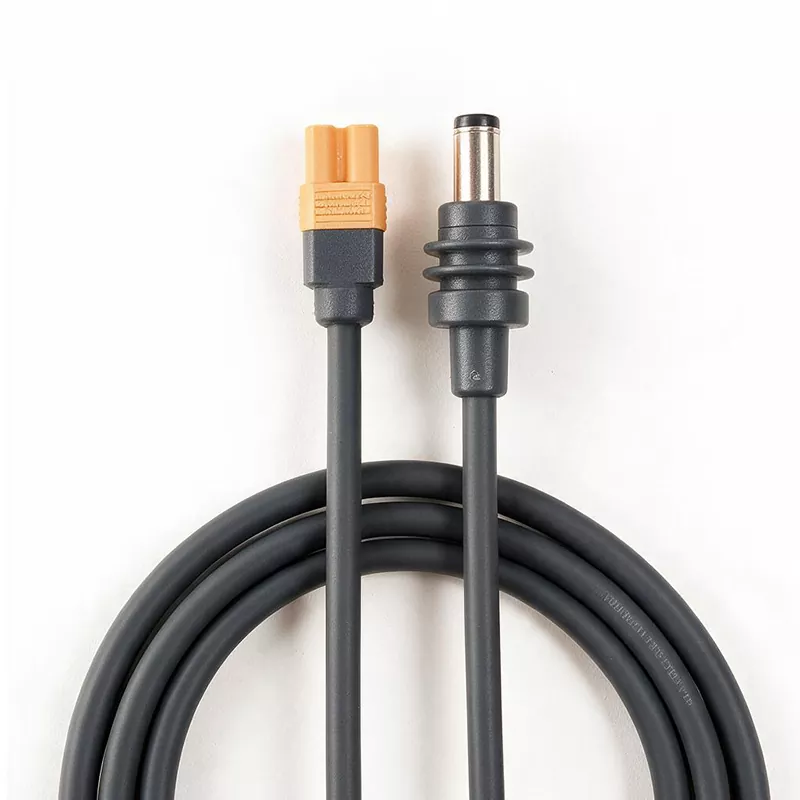

Choose the cable by identifying three things first: your exact Starlink hardware, the connector at each end, and whether the link carries dish power as well as data. A cable described only as “Starlink compatible” isn’t specific enough. Round-dish, Standard Actuated, Standard, Mini and High Performance systems don’t all share the same connection architecture.
That distinction matters more than speed claims. The wrong assembly may fit neither endpoint, or worse, may appear to fit while using an incompatible pinout or power arrangement.
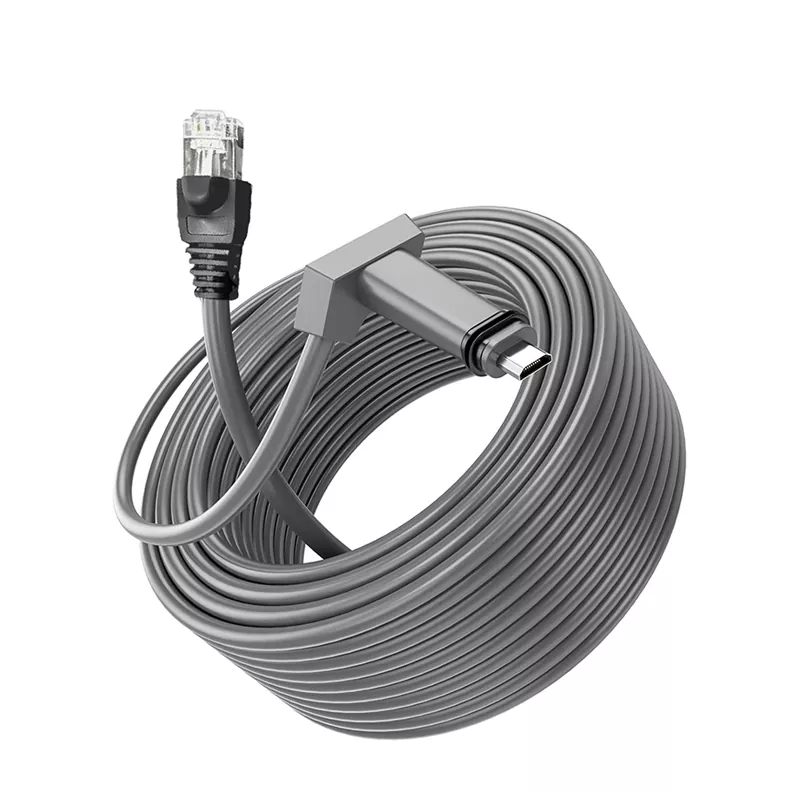
Start with the labels on the dish, router and power supply. Record model numbers and photograph every port before searching for a replacement. Sellers sometimes group several hardware generations under one product name, while owners often describe any rectangular dish as “Gen 2” or “Gen 3.” Neither description is reliable enough for procurement.
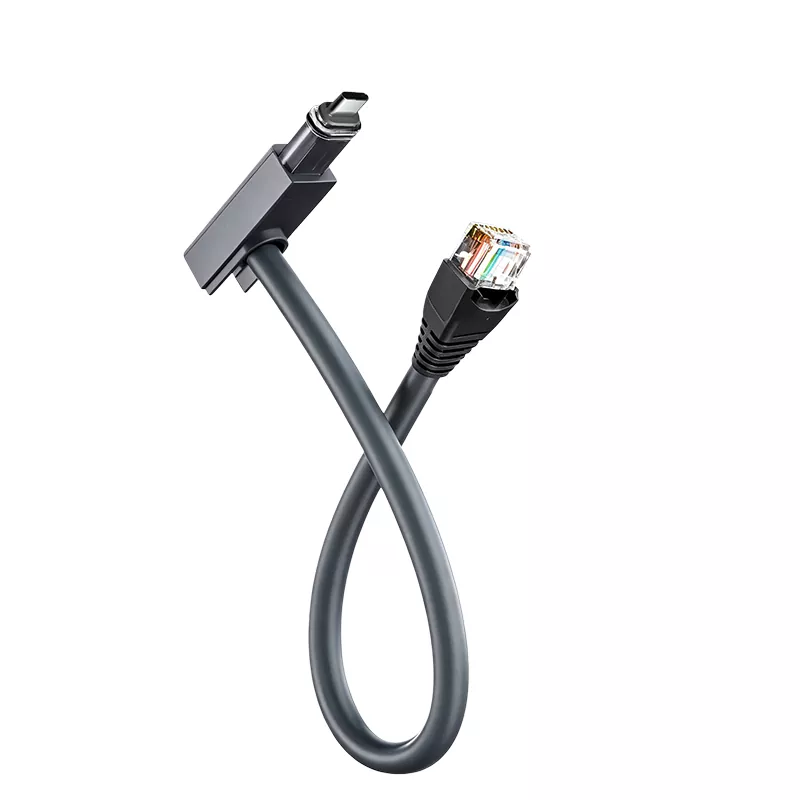
Next, trace the connection path. Are you replacing the powered cable between the dish and router, adding a conventional LAN connection from the router to a switch, or building an installation around a separate power supply? These are different cable jobs. TLD Electronics’ Starlink Ethernet Router Cable options include proprietary Starlink-to-RJ45 and custom connector configurations, so both endpoints must be specified.
The most useful classification criterion is system architecture—not dish shape alone. Use the matrix to establish what must be verified before ordering.
| Starlink system | Connection to identify | What to verify | Common mistake |
|---|---|---|---|
| Round-dish kit | Dish, power supply and router path | Hardware revision, attached cable details, power-supply port and pinout | Treating an Ethernet-style connector as ordinary LAN Ethernet |
| Standard Actuated | Dish-to-router proprietary link | Connector orientation, generation, cable length and sealing | Buying by “rectangular dish” description alone |
| Standard | Dish, router and power components | Exact model numbers and both connector housings | Assuming compatibility with Standard Actuated hardware |
| Mini | Power input and available wired-network port | Whether the order is for DC power, Ethernet or both | Ordering a dish-to-router cable for a system with a different architecture |
| High Performance | Dish, power supply, router or third-party network equipment | Complete kit variant, pinout, power path and environmental rating | Matching only the dish name |
Consumer kits need generation-specific verification because the architecture changed over time. Round-dish systems commonly involve a separate power supply, while Standard Actuated kits use a proprietary dish-to-router connection. Later Standard hardware and Mini systems follow different layouts again.
Don’t identify the cable from an online photo. Connector dimensions, keying, weatherproof shells and the device receiving power all matter. For Mini installations, separate the DC-power requirement from the Ethernet requirement; those cables perform different functions even if both are part of the same RV or remote-site build.
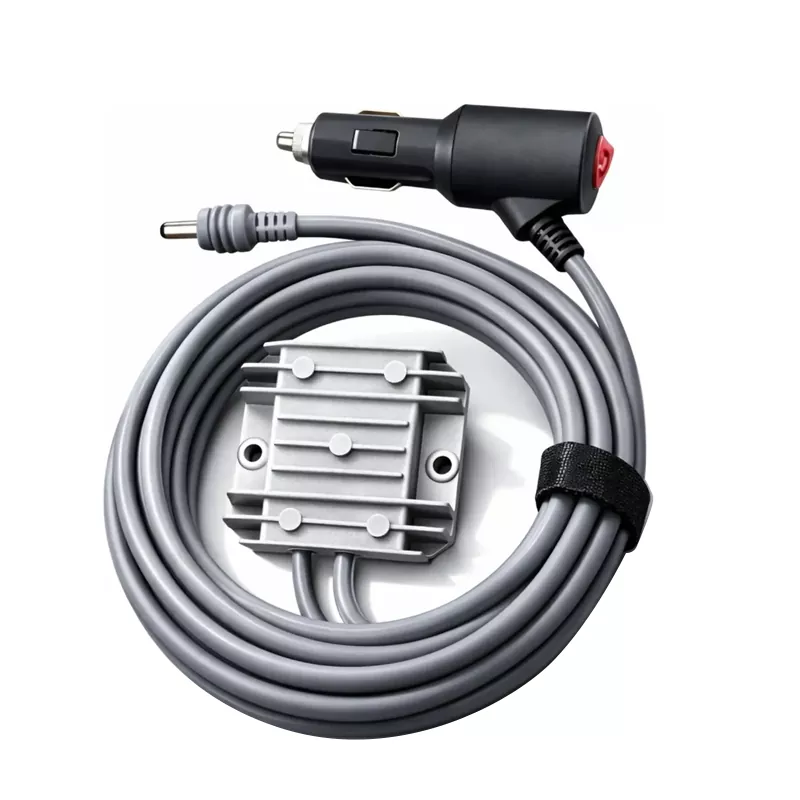
High Performance hardware should be treated as a complete power-and-data system. Record the dish model, power-supply model, router or switch endpoint, and any adapter already installed. A replacement selected from the dish name alone can omit a required power component or terminate in the wrong connector.
This is also where OEM buyers should provide a physical sample, drawings or verified pinout documentation. “High Performance compatible” isn’t an adequate production specification.
A dish link may carry high-speed data and operating power over the same assembly. A router-to-switch link normally serves the local network side. Confusing those paths is one of the costliest Starlink cabling mistakes because ordinary Ethernet equipment isn’t automatically suitable for a powered dish circuit.
For a dish-to-router replacement, confirm conductor arrangement, wire gauge, shielding, connector pinout and current-carrying requirements against the actual hardware. High data performance alone isn’t enough. Undersized conductors or poor terminations can create voltage drop, intermittent restarts or heat at the contact point, especially on longer runs.
Shielded twisted-pair construction helps control interference, but shield continuity and termination quality determine whether the shielding works as intended. TLD Electronics specifies foil and braided shielding among the available constructions for its shielded Starlink router cables.
On the LAN side, Gigabit Ethernet may run through a conventional network connection, depending on the router and any required adapter. Still, an eight-position modular plug is only a connector shape. It doesn’t confirm standard Ethernet wiring, supported power delivery or compatibility with a dish-side port.
Never connect a powered proprietary dish cable directly to a network switch merely because the plug appears to fit. Verify the documented function of both ports first. For third-party routers, also check whether the Starlink hardware supports the intended bypass or adapter arrangement.
Measure the installed route, including service loops, entry points and movement around mounts. Don’t use straight-line distance. Excessive length can increase voltage drop on powered links, while tightly coiled surplus cable creates a poor service installation and can trap heat.
For outdoor runs, specify an outdoor-rated PVC or PE jacket suited to the expected sunlight, moisture and temperature exposure. “Outdoor-rated” doesn’t automatically mean direct-burial rated. Conduit fill, water entry, bend radius and strain relief still need attention. RV installations add vibration, repeated setup and abrasion at compartment edges; flexible routing and secure support matter more there than a tidy catalog photograph.
If the route passes motors, power wiring or other interference sources, shielded construction is the sensible choice. Confirm how the shield is terminated rather than assuming more metal always means better performance.
An original cable offers a known system match, but available lengths and routing options may be limited. A replacement can be practical when its compatibility is documented by hardware model and endpoint—not just a broad generation label. Custom assemblies make sense for fixed buildings, fleet RV installations and OEM equipment where controlled length, jacket material or connector configuration reduces field splicing.
Ask a supplier for connector identification, pinout control, continuity testing and electrical and environmental test information relevant to the assembly. TLD Electronics lists Gigabit Ethernet construction, CE and RoHS compliance, standard and custom lengths, samples, and factory-controlled production for custom Starlink Ethernet assemblies. Buyers should still state which evidence must accompany samples and production lots.